Pumpkins – the BIG picture
Before we delve into the ins and outs of growing a giant pumpkin, let’s get the lowdown on these remarkable fruits with a few pumpkin facts.
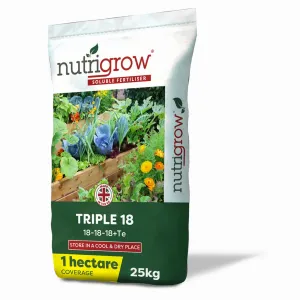
Agrigem has history when it comes to giant pumpkins. One of our fertiliser products – Triple 18 – was used to grow a giant 758lb pumpkin that wowed the crowds at Chelsea Flower Show – read the story here.
But did you know, the UK grows more than 15 million pumpkins each year?
Although the vast majority of these are used for carving and decoration, every part of a pumpkin plant is edible and they’re good for us – rich in Vitamins A and C, minerals, and healthy beta-carotene!
Technically a berry known as a ‘pepo’, pumpkins grow very quickly making them great growing projects for children, and the inpatient…
And of course, certain varieties can grow to incredible sizes - with the current record (at the time of writing) weighing in at a whopping 2749lb.
You can read more about that over at the Guiness World Records site.
Think you can beat that? Let’s get you started with a plan!
Start early and prepare the soil
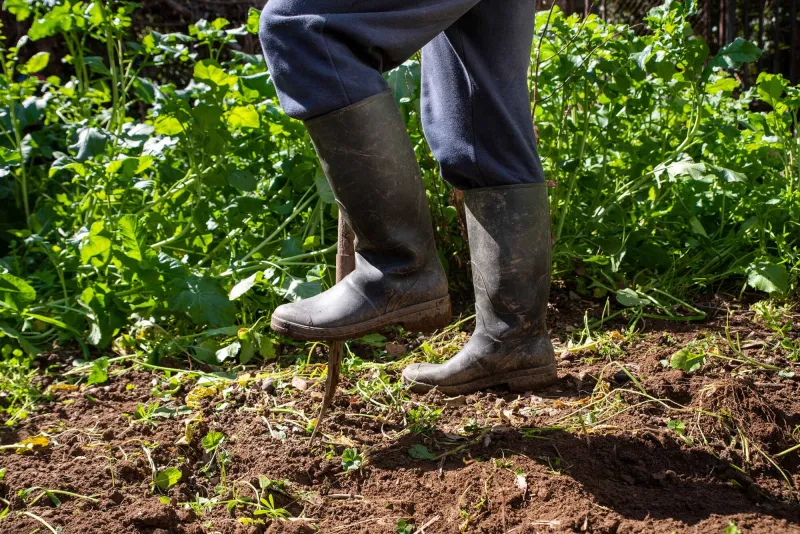
The key to growing a planetary pumpkin is good preparation. While you won’t be sowing your pumpkin seeds until spring, there is a lot you can do to improve and prepare the soil before then – creating the best possible soil foundations for great growth.
But before you do that, make sure you’ve selected the right space and position to grow your pumpkin.
Pumpkins love sunlight while in the early stages of growth, so avoid areas that are likely to be in shade.
They will also need quite a bit of space to allow the vines to run and to grow your giant pumpkin!
Make sure your soil is well draining and then aim to improve it as much as possible in the autumn and winter months.
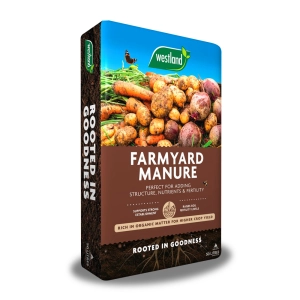
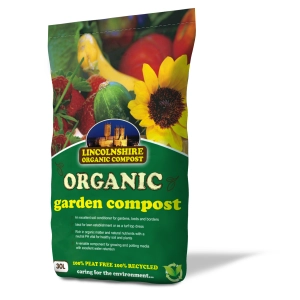
You can start by digging in organic matter: well-rotted manure, garden compost, leaf litter, or prepared compost and soil improvers.
Consider a soil analysis to check pH levels and identify if any specific soil amendments are required for your forthcoming pumpkin patch. The ideal soil pH for pumpkin growing is in the range of 6.0 to 6.8.
Autumn is a great time to test your soil – it will give you the time to apply any treatments or recommended fertilisers that might help get your soil in shape ready for planting.
The final step in preparing the soil comes in spring – about a week prior to planting your seedlings out.
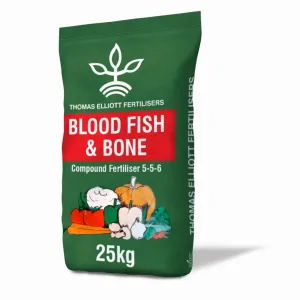
Use a granular fertiliser, casting it over the soil surface and then dig it in to about 6 inches depth. Agrigem’s Blood Fish and Bone or our Nutrigrow 7-7-7 is ideal.
Sowing giant seeds
Select a giant seed variety like Atlantic Giant or Big Max. Seeds from record-breaking pumpkins can be bought online but tend to be very expensive.
A single seed from the current record-holder would set you back around $350 -so do shop around. There are plenty of cheaper varieties that will produce outstanding results.
Sow your seeds towards the end of April. Giant pumpkin seeds will be bigger than normal pumpkin seeds so it’s a good idea to soak them in tepid water for an hour before planting.
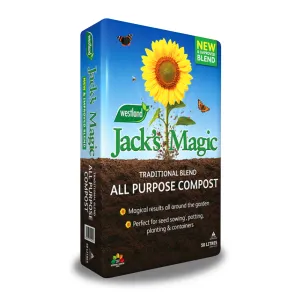
Use a high-quality seed compost and plant the pumpkin seeds individually, pointy end down.
Make sure your compost is free-draining and don’t over water. Pumpkin seeds can rot easily, so water only when the compost surface starts to dry.
Now keep your sown seeds in a light and warm area (25C to 30C is ideal). You should see the seedlings start to appear in around four – five days.
Transplanting and planting out
Transplant seedlings into larger individual pots once the first true leaf is fully expanded – around two weeks after planting.
Make sure your newly transplanted seedlings receive plenty of light and protect them from frost by keeping them indoors, moving them to a greenhouse, or positioning them under a cold frame.
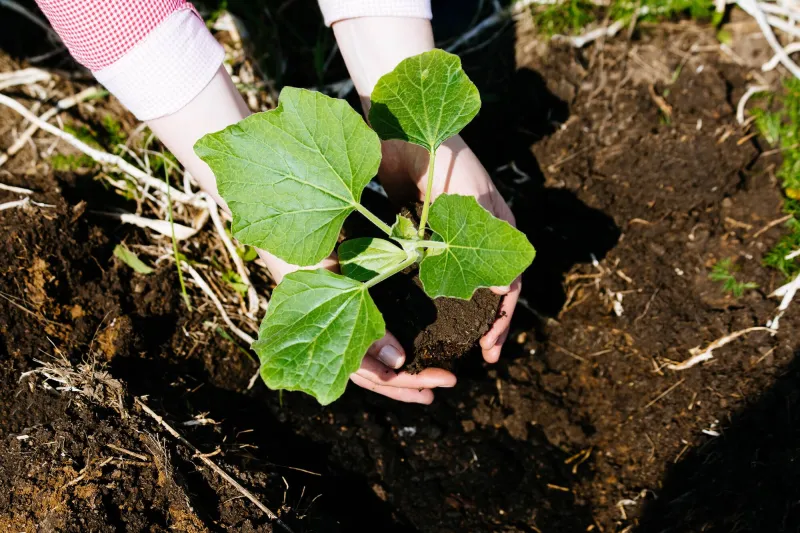
Aim to plant the young plants in the ground around mid-May but ensure they are not exposed to frost overnight. Consider protecting them with a cloche or horticultural fleece in colder periods at night until the risk of frost has passed.
Select the strongest young plants to plant out. They take up a lot of space, so plant them at least 1.5m apart.
Initial growing
During the first month or two after planting, you should aim to encourage as much leaf growth as possible on each plant.
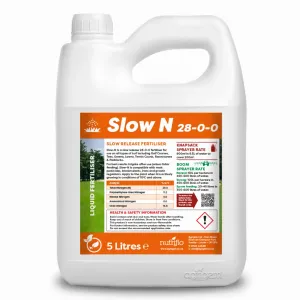
You can encourage this green growth with a liquid or soluble fertiliser containing a higher amount of nitrogen like Slow N. This green growth will help feed your chosen pumpkin right through to harvest time.
Water your plants slowly with no more than an inch of water a week if it hasn’t rained. Watering in the morning is best. This will help avoid the leaves retaining water in the evening which can increase the risk of disease and mildew.
Once the flowers appear, focus your interest on the female flowers only – the ones with a small pumpkin at the base and a single stigma.
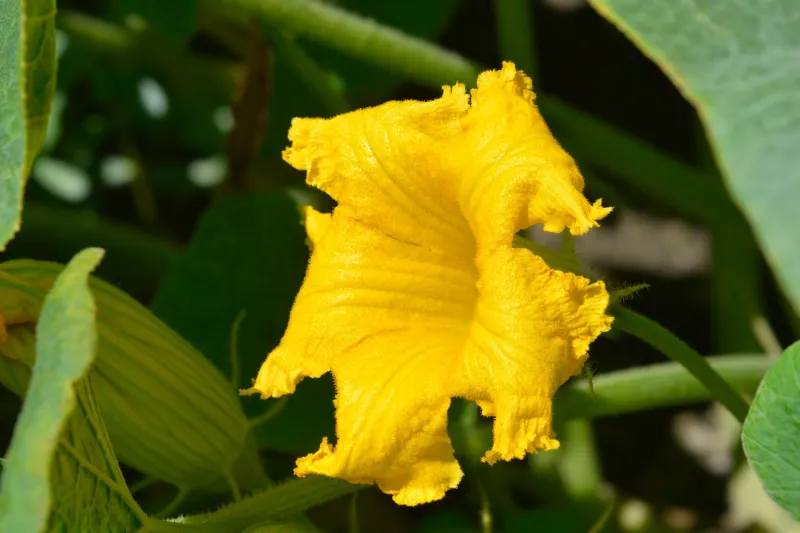
Let the bees pollinate the flowers (or hand pollinate if you are confident to do this) and then watch to see which one starts to grow the fastest. This is your future giant pumpkin – so remove all the others, keeping one pollinated flower per plant. This will force the plant to put all its energy into this single pumpkin.
Growing on
Water regularly from this point onwards. You might need to water every day, but pumpkins are shallow rooted so pull back with the watering if there has been a lot of rain.
Keep your pumpkin patch free of weeds to avoid competition for nutrients. You can think about removing any other pumpkin plants if you have a single plant doing well. This will also help reduce competition for soil nutrition.
As your single pumpkin starts to put on growth, use a high-quality feed like the one used by our Chelsea grower – Triple 18. This product was used in a drip irrigation system in this case, but you can apply it using a sprayer and still achieve great results.
Protect your pumpkin
Try and protect your young pumpkin from wind. Some growers use windbreaks which can help if you are growing on a particularly exposed site but ensure you don’t completely block airflow as this will help reduce the risk of fungal problems.
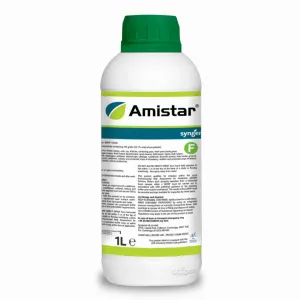
Keep an eye on pests through the growing season, though your biggest enemy is likely to be powdery mildew.
Treat mildew using a specialist product like Amistar, but ensure air can move through the plant easily to reduce humidity.
Be careful not to scratch the skin of your pumpkin as this can cause scars which will affect the overall size.
If necessary, create shade for your pumpkin as it starts to get bigger – especially if the weather has been particularly hot. This will stop the skin from becoming prematurely hard which can limit further growth.
When your pumpkin reaches the size of a basketball, gently move vines 90 degrees away from the fruit. This will help train the vine and prevent damage to the stems.
Harvest and enjoy!
Harvest your pumpkin before the first autumn frosts arrive in October, allowing the skin to harden in the sun at this stage (removing any shading).
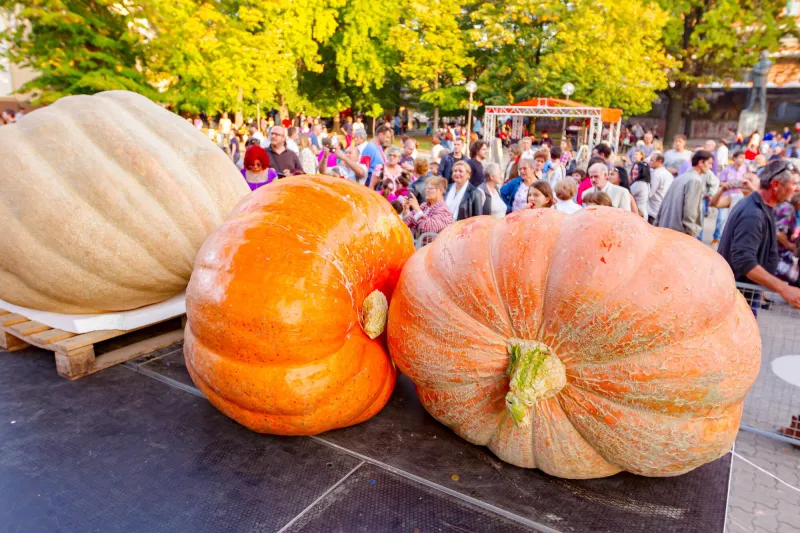
Pumpkins that weigh over 60kg can happily be described as giant, so give yourself a round of applause if you manage to grow one at, or over, this weight!
Finally, store some of the seeds for future use and remember to take care when moving your pumpkin - you may need assistance and a tarpaulin to manoeuvre it!
Let us know how your pumpkin growing went – we’d love to hear your success stories! Email marketing@agrigem.co.uk