Far from harming the bulbs, many spring bulbs benefit from this period of cold weather to trigger the biochemical processes needed to bloom.
Even if the soil freezes, the dormant bulb cells will not be harmed. But how late can you leave bulb planting before the weather starts to warm up?
Choosing the right month
You can start planting spring flowering bulbs in September or October, though most gardeners will plant them during November before the ground freezes.
Traditional wisdom says that you need a period of four to six weeks of cold weather after planting bulbs – followed by warming spring temperatures.
So, logic states that the colder your climate or the longer your winters, the later you can leave planting, as long as you do it when the ground is not frozen.
For most UK regions - except perhaps the far south - you are usually safe to plant right the way through to early January. However, as our climate warms, this planting window reduces. To be on the safe side, you may be best to finish bulb planting by the end of November.
If you’ve left things a little late and the ground is frozen solid, you can still achieve some spring colour if you go for pot displays using compost. Just remember to do this around four – six weeks before the weather is expected to warm up.
Which spring bulbs are best planted in winter?
There are a huge variety of spring flowering bulbs that are best planted in colder months. The most common include:
• Crocus
• Tulips
• Hyacinth
• Muscari
• Lily
• Winter Aconite
• Aliums
• Amaryllis
• Daffodil
You can layer bulbs too for a more dramatic spring flowering impact. Try planting tulip bulbs about 8-10 inches deep, then covering with an inch or two of compost. Then plant hyacinth bulbs on top of the tulips, repeating the compost layer.
You could try a layer of muscari on top of these and finally finish with a layer of crocus bulbs followed by compost. This technique is particularly visually pleasing and effective in large patio pots.

How to plant spring flowering bulbs
1. Digging
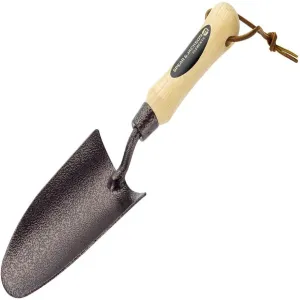
If you are planting a small amount of bulbs in the ground, you can use a trowel, or a purpose designed bulb planter. These are short hollow metal cylinders with a handle that allow you to take a core of soil out of the ground leaving a nice circular hole for a single bulb.
These tools work well because they will remove the right amount of soil to the correct depth for planting most bulbs.
If you use the same tool for all your bulb planting, you will ensure that they are all planted at the same depth, increasing your chances of having them appear at the same time – particularly important if you’re aiming for drifts of spring flowers in a border.
If kneeling down is difficult for you, you can use a similar long-handled bulb planter that makes the process just as easy from a standing position.
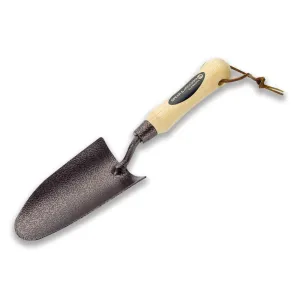
Of course, using a trowel is absolutely fine too, you will just need to try and dig to consistent depths.
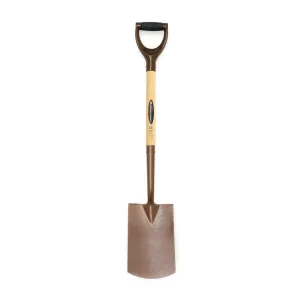
For large volume planting, you may find it easier to dig a trench with a spade, then spread the bulbs out, or group them together depending on your desired visual effect, before re-covering them with the soil you removed.
2. Planting
Once you’ve removed enough soil to get your bulbs to the correct depth, simply pop them into the ground, and cover them with the core of soil you removed with your planter, or with the soil you removed when digging.
Cover them to ground level (unless you are going for layers) and pat down gently.
Some gardeners will tell you to plant bulbs root down and tip up, though there is plenty of evidence to show that bulbs will always find the light and grow up whichever way you plant them!
Space larger bulbs a good six inches apart to give them room to grow and provide the best show of blooms. For additional protection from ice and frost, consider adding a layer of mulch or leaf mould for extra insulation.
If you are planting into pots, use a specialist compost. This will help your bulbs generate strong root growth and help them replenish themselves ready to flower again next season.
3. Feeding
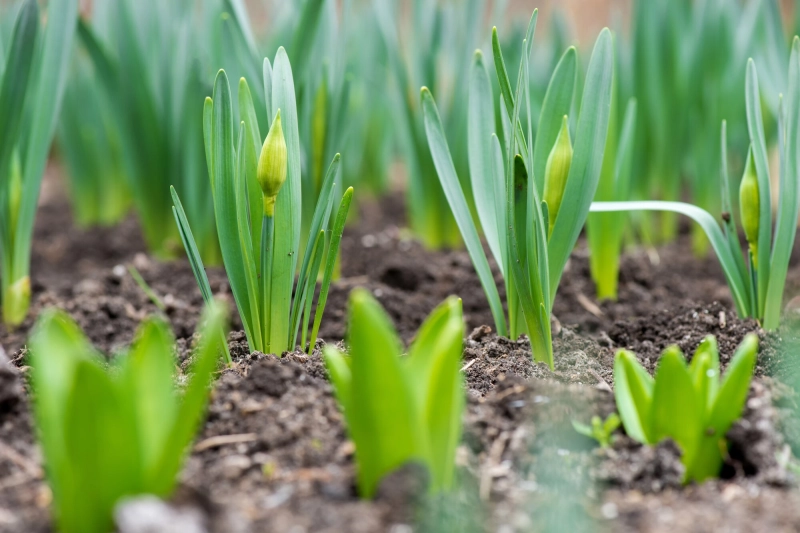
Although your bulbs will remain dormant through the winter, they will put down roots. If you are planting in the ground, consider using a specialist bulb feed, also known as a starter.
This will help your bulbs establish themselves and give them the best start once the weather starts to warm. Apply feeds at the rate specified by the manufacturer.
These treatments can be applied when planting your bulbs, and again in spring when you see the first shoots appear (though don’t apply fertiliser once flowering has started).
Products with mycorrhizal fungi will help stimulate root growth, while seaweed meal and other nutrients can help support flowering and a range of other functions to support strong growth.
You can use species specific fertilisers such as daffodil fertiliser if planting a lot of bulbs. These feeds are tailored to the unique needs of each bulb type and will encourage a longer and more consistent flowering period.
4. Helping your bulbs to last
Once your spring bulbs have finished flowering, resist the temptation to cut them back and allow the foliage to continue to grow.
This foliage represents food that needs to be re-stored in the bulb ready for next year. So by pruning, covering or even folding the stems, you are cutting off or disrupting the supply of food.
Trimming the flower heads off is fine but do try and leave the rest of the plant until the foliage has dried completely.
Following these steps will give the best displays come spring – happy bulb planting!


